How to Build a PDF Viewer With Blazor
By Yon Zhou | 2019 Aug 23

4 min
Tags
tutorial
blazor
view
Blazor is an upcoming web framework that allows you to build interactive web UIs with C# and use .NET Core packages in your backend.
If you're interested in integrating a Blazor PDF viewer for PDF and MS Office document viewing, annotating, and editing solution into your Blazor application, read on. This blog shows you how to embed Apryse’s Blazor PDF library for WebViewer in your application.
Access the source code for this project from our Git repo.
Blazor Hosting Models
The Blazor PDF viewer free application has three different types of hosting models:
- Blazor Server: The app is executed on the server side from within an ASP.NET Core.
- Blazor WebAssembly (WASM): The app, its dependencies, and the .NET runtime are downloaded to the browser, where they run client-side in the browser on a WebAssembly-based .NET runtime.
- Blazor Hybrid: Components run directly in the native app, along with any other .NET code, and render web UI to an embedded Web View control through a local interop channel.
For more information on these models, refer to Microsoft’s documentation.
Prerequisites
To begin with, you need to download the latest .NET Core SDK. If you are already familiar with Blazor, just skip ahead.
Get Started
You can use an existing Blazor application, or create a new Blazor project from scratch, following this guide.
Note that the full client-side template from the samples does not work out of the box because the client-side template blocks server configuration and WebViewer needs to configure some MIME-type mappings on the hosting server. For fast integration, use either the Blazor server-side template or the client-side --hosted option.
Add the WebViewer Library
First, download WebViewer from our website.
Next, extract the zip file and move the lib folder into the project's static resources directory (which by default is wwwroot).
To ensure your Blazor document viewer app can find the WebViewer Library, add the library as a script tag under your main HTML page, likely wwwroot/index.html for the client-side model or Pages/_Host.cshtml for the server-side model.
Insert the following under the <head> element of that file:
<script src="lib/webviewer.min.js"></script>
Define Wrapper Functions
Now that we have imported WebViewer into our main HTML file, we will define some JavaScript wrapper functions to instantiate and work with WebViewer. Create a new folder in the resources directory called js, and inside that folder, make a new JavaScript file webviewerScripts.js.
Open the JavaScript file and write a function to instantiate WebViewer and expose it to the browser window:
window.webviewerFunctions = {
    initWebViewer: function () {
        const viewerElement = document.getElementById('viewer');
        WebViewer({
            path: 'lib',
            initialDoc: 'https://pdftron.s3.amazonaws.com/downloads/pl/demo-annotated.pdf', // replace with your own PDF file
        }, viewerElement).then((instance) => {
            // call apis here
        })
    }
};
Again, to make sure Blazor finds this file, we add a script tag to the main HTML file but this time inside the <body> element:
<script src="js/webviewerScripts.js"></script>
Make the Page
Next, we make a new page to host WebViewer and define the viewer div element referenced in webviewerFunctions.initWebViewer. Navigate to your project’s Pages directory and make a new file called WebViewer.razor.
Inside this file, we need to define the route, inject the JavaScript interop runtime, and define the div element for WebViewer to instantiate in. Add these lines to the top of WebViewer.razor:
@page "/webviewer"
@inject IJSRuntime JSRuntime

<h1>WebViewer</h1>
<div id='viewer' style='width: 1024px; height: 600px; margin: 0 auto;'></div>
We then need to call the JavaScript function we defined earlier through the interop. We can define a script section after the div declaration and call the initWebViewer method we defined earlier inside the OnAfterRender() function for the page:
@code {
    protected override async void OnAfterRender()
    {
        await JSRuntime.InvokeAsync<object>("webviewerFunctions.initWebViewer");
    }
}
Configure MIME Types
Before we run our application, we first need to add MIME-type mappings to our hosting server so it can find the WebViewer library files. The process is different for every type of server. If you are using an ASP.NET server, consult our guide on how to add those mappings.
You may also find the FileExtensionContentTypeProvider guide helpful.
Run the Application
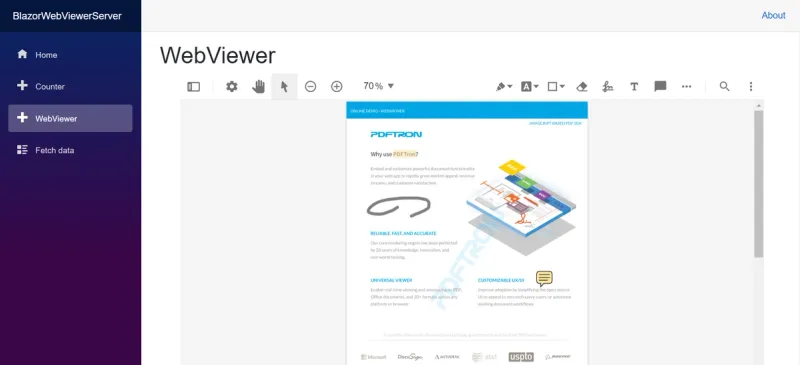
We have now successfully integrated WebViewer into Blazor. To see WebViewer in action, run the application via dotnet run or by opening the solution in Visual Studio.
Navigate to the localhost:XXXX/webviewer page of the Blazor application and you should see WebViewer:
Customize WebViewer
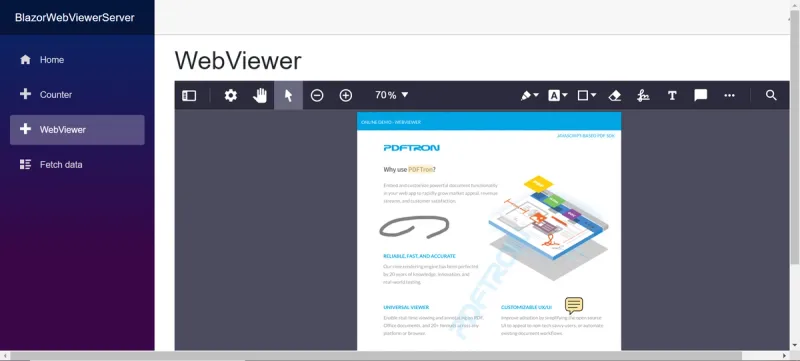
You can call WebViewer APIs straight inside initWebViewer(defined in js/webviewerScripts.js). For example, to set WebViewer to dark mode, you can add this line inside initWebViewer:
//@data{"gitDiff":true}//
...
}, viewerElement).then((instance) => {
    // call apis here
+    instance.setTheme('dark');
...
If you restart the application and navigate to localhost:XXXX/webviewer again, you should see the theme has changed:
You can also define more JavaScript functions in webviewerScripts.js and call them from the C# side. First, add a variable above the window.webViewerFunctions declaration to expose the WebViewer instance:
//@data{"gitDiff":true}//
+var wvInstance;
window.webviewerFunctions = {
    ...
Then in initWebViewer, set the variable to the WebViewer instance:
//@data{"gitDiff":true}//
...
}, viewerElement).then((instance) => {
    // call apis here
+    wvInstance = instance;
...
Next, we can define a new function inside window.webviewerFunctions to load another document into the WebViewer instance from a given URL:
loadDocURL: function(url) {
    wvInstance.loadDocument(url);
},
Now inside WebViewer.razor, we can call this function via JSInterop:
await JSRuntime.InvokeAsync<object>("webviewerFunctions.loadDocURL", "YOUR-URL-HERE");
Additional Features
You can now start adding different features to your Blazor app:
- Annotations
- Real-time document collaboration
- Viewing / Converting MS Office files
- PDF Generation
- PDF Manipulation
- Digital Signatures
- Redaction
- And much more
Wrapping up
In this article, we demonstrated how to add WebViewer to a Blazor application. If you have any questions about integrating WebViewer into Blazor or any other web frameworks, get in touch with us and we will be happy to help!
Tags
tutorial
blazor
view

Yon Zhou
Share this post


